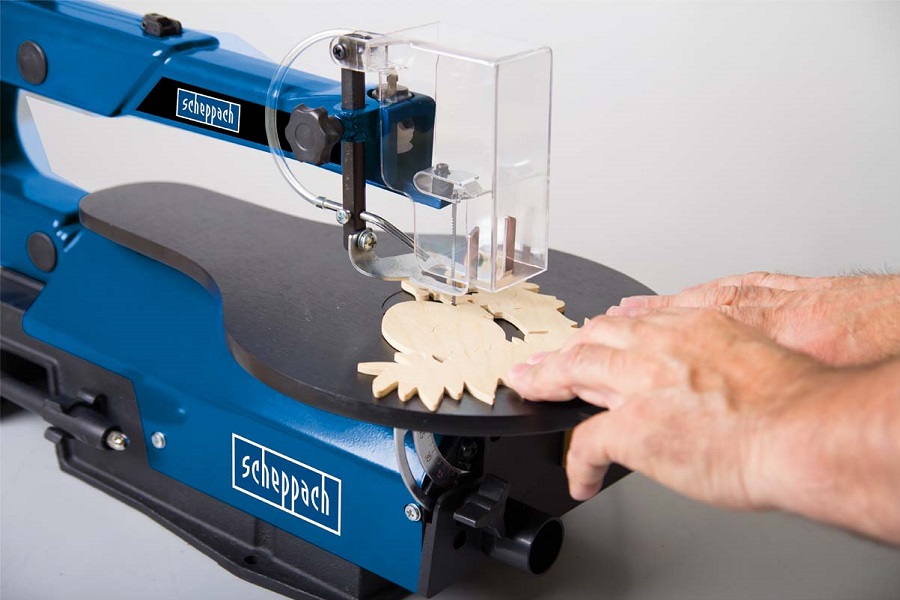
Table saws (also known as bench saws) are saws mounted onto worktables. They’re great for serious projects as they provide a lot of support for the material.
This makes it possible to use thick sheets of wood and metal both comfortably and safely. Here is a quick guide to what you need to know about table saws and how to make your own.
What is a table saw?
If you buy a table saw from a store, you can expect it to have most, if not all, of the following components.
- Stand
- Power switch
- Mechanism to raise/lower blade
- Mechanism to tilt blade
- Blade tilt gauge
- Worksurface (plus extensions) with channel (rip) for blade
- Rip fence + rip fence guide
- Mitre gauge
- Riving knife + blade
- Blade guard
- Extractor tube
Table saws are divided into three main types according to the type of stand they use.
Cabinet table saws
Cabinet table saws sit on top of very strong tables or cabinets, usually made of cast iron. They are fully-featured and intended to be permanently located in workshops. Moving them is possible but challenging.
Contractors’ table saws
Contractors table saws have most, if not all, of the features of cabinet table saws, but they sit on a much lighter table. The legs are usually adjustable so the table can be used on uneven surfaces. Usually, they can also be folded or removed for easier transport and so that the table saw can be used without the stand if necessary.
Bench table saws/bench saws
This is the table saw you’ll find in garages everywhere. You can get pro-level versions of them (at pro-level prices). Mostly, however, these are little more than a robust workbench with a cutting hole and a rip fence. They are perfectly fine for regular DIY projects. In fact, you can even make one yourself.
What tools and power tools do I need?
Tools
- Circular saw
- Power drill
- Clamps
- Set square
- Optional – a spirit level or spirit-level app
Materials
- Table legs/trestles
- 1 sheet plywood + 1 sheet MDF – same length and width
- 4* pine strips big enough to fit around the edges of your plywood/MDF
- 1*piece hardwood big enough to stretch across the breadth of your plywood/MDF
- Lumbar scraps/offcut
- Wood glue
- Nails/screws
5 easy steps to making a DIY table saw.
Create the hole for your saw on the plywood and the MDF
This is arguably the most important step in the whole process. So it’s worth taking the time to get it right. Mark the centre of the plywood. It might be best to use tape rather than pencil, so it stands out clearly.
Then work out where to put the cutting hole. It needs to be far enough into the centre for the table to be stable but close enough to you for you to be comfortable. If you’re working with a large sheet of plywood, you may want to trim it down.
Once you’ve found the right position for your saw, create the cutting holes for it. A good way to do this is to clamp down two pieces of wood and then put the saw into the wood so the blade comes through the other side.
Sandwich the plywood and the MDF together
The plywood is for strength (and hence stability) and the MDF is for glide (and hence convenience). There are various ways you can join the two bits of wood, but the easiest option by far is wood glue. Follow the instructions on the can, but you’ll usually have to apply it liberally, clamp it and leave it to set for a while.
Make a frame for your table
Use the pine to create a frame for your table. You need this to be as robust as possible, so this is generally a case for “belt and braces”. In other words, use wood glue and standard metal fixings.
Mount the circular saw
Turn your tabletop into a proper table by adding the legs or putting it on the trestles. Check that the table actually functions as a table. In other words, make sure that it’s sturdy and feels like it can stand up to the intended work. If it doesn’t, figure out the problem and sort it now. Then mount your circular saw.
This is where you’re going to use the scraps of wood. The exact steps will depend on your model of circular saw. Essentially, however, you’re going to screw the base of your saw to wood to hold it stable. You’re probably going to need to make some wooden blocks to act as fillers to keep the circular saw firmly in place.
Create the fence
It is vital that you have a rip fence in place as this is a key safety feature. It is also vital that it is absolutely parallel with your cutting hole as this will guide your saw blade. This is why you need to use a set square and you need to keep checking for straightness as you work as the piece of wood can move.
If you’re looking for the quickest and easiest solution, just trim your hardwood to size and glue it to the tabletop and frame. This approach is fine for light projects, provided that you use a really good wood glue, but it’s not particularly robust. You can strengthen it somewhat by using nails between the frame and the fence.
If, however, you want a really strong fence, then you need to be prepared to put in a bit of extra effort. Drill into the underside of the table in a minimum of two places and use bolts to keep the fence totally secure.
It may help to have an extra pair of hands for this as it’s really easy for your fence to be pushed out of true alignment here. If you don’t (in fact even if you do), you absolutely must keep checking that the fence is totally straight. Spirit levels can be handy here (even spirit-level apps) but they can be confused if the floor is uneven.


